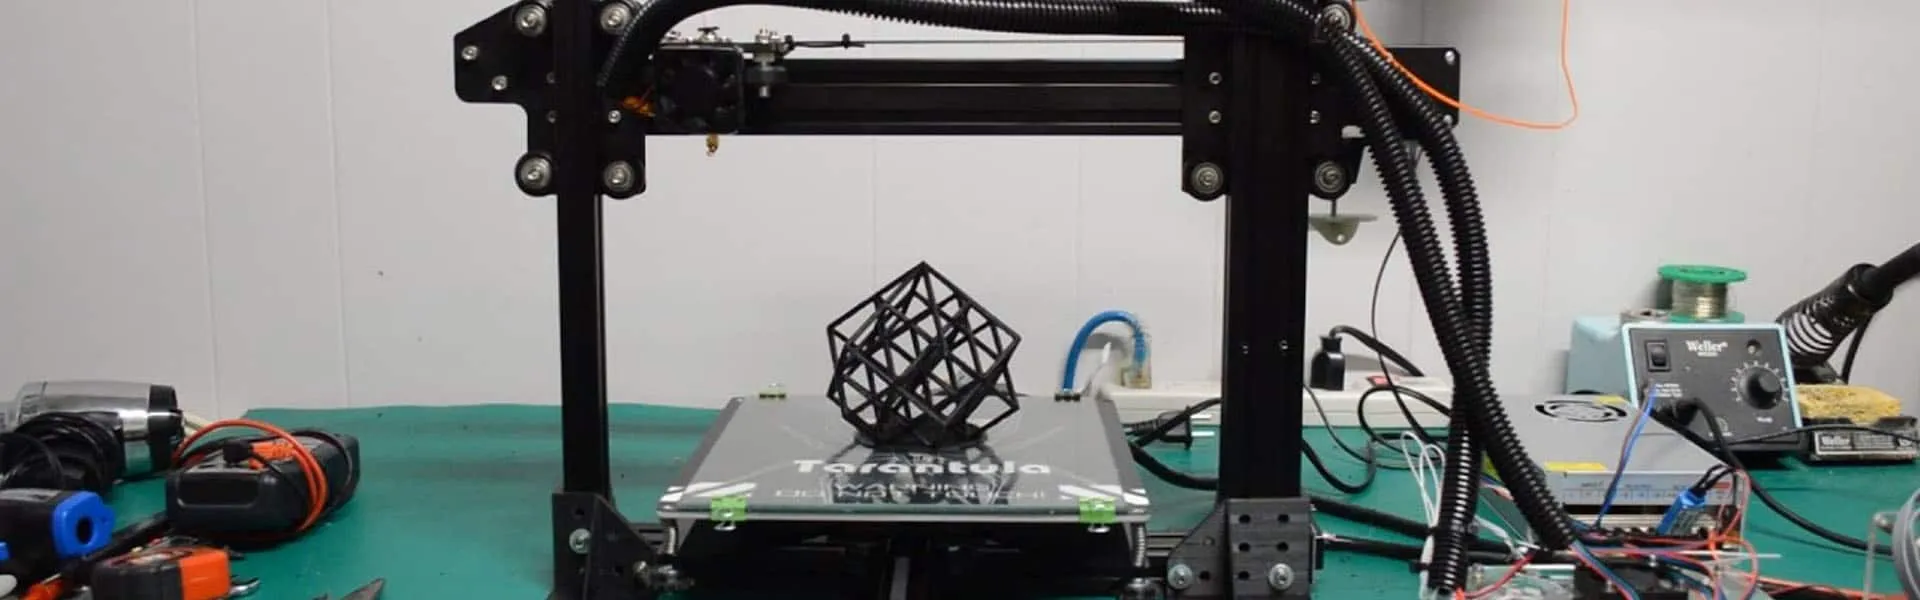
Connecting your Tevo Tarantula 3D printer via USB is a fundamental step in bringing your 3D printing projects to life. This guide will walk you through every step of the USB connection process, providing detailed instructions and troubleshooting tips to ensure a smooth and successful connection. Whether you’re a beginner or an experienced user, this guide will help you understand the intricacies of establishing a reliable USB connection, allowing you to send your 3D models to your printer and start creating.
Understanding Tevo Tarantula USB Connection
Understanding the USB connection process is crucial for effective 3D printing. The USB connection serves as a bridge, transferring commands and data from your computer or device to your Tevo Tarantula 3D printer. This allows you to control the printer, send print jobs, and monitor the printing process in real time. A stable USB connection is essential for ensuring that your print jobs are executed correctly without interruptions or errors. A poor connection can lead to print failures, corrupted files, and frustrating downtime.
What is USB Connection
USB, or Universal Serial Bus, is a common interface used for connecting various devices to a computer. In the context of 3D printing, the USB connection facilitates communication between your computer and the Tevo Tarantula printer. This connection transmits data, including the G-code instructions that tell the printer how to build your 3D model. The USB connection also enables you to monitor the printer’s status, send commands, and troubleshoot any potential issues that may arise during the printing process. USB provides a standardized and relatively simple way to connect and control your 3D printer.
Benefits of USB Connection for 3D Printers

The USB connection offers several advantages for 3D printing enthusiasts. It provides a direct and often faster connection compared to other methods, such as using an SD card. This allows for quicker file transfer and more responsive control of the printer. Additionally, the USB connection enables real-time monitoring of the printing process through your computer’s slicing software, allowing you to view the print progress, temperature readings, and other vital information. USB connections are often easier to set up than other wireless or network-based solutions, making it a popular choice for many 3D printer users. The USB connection provides a direct link for control and data transfer.
Components Needed for Tevo Tarantula USB Connection
Before you begin, gather all the necessary components to establish a successful USB connection with your Tevo Tarantula 3D printer. Having these items readily available will streamline the setup process and minimize potential delays. This section details the key elements required to establish a working USB connection.
USB Cable
The USB cable is the physical link between your computer and the Tevo Tarantula 3D printer. Ensure you have a USB cable that is compatible with both devices. The Tevo Tarantula typically uses a USB Type-B connector on the printer end and a standard USB Type-A connector on the computer end. It is recommended to use a high-quality, shielded USB cable to minimize the risk of signal interference and ensure a stable connection. The length of the cable should be sufficient to reach from your computer to your printer without being stretched or excessively long, which can also affect signal quality. Image of a USB cable.
Computer or Device

You’ll need a computer, laptop, or other device with a USB port to connect to your Tevo Tarantula 3D printer. Make sure your device has the necessary operating system and software installed to support 3D printing. Windows, macOS, and Linux operating systems are all compatible with 3D printing. Ensure that your device has sufficient processing power and memory to handle the slicing software and print job instructions. Additionally, make sure your device’s USB ports are functioning correctly and are not damaged. Image of a computer or laptop.
3D Printer Slicing Software
3D printer slicing software is a crucial component of the USB connection process. This software converts your 3D model files (usually STL or OBJ) into G-code instructions that the printer can understand and execute. Popular slicing software options include Cura, PrusaSlicer, and Simplify3D. You will need to install your preferred slicing software on your computer and configure it to work with the Tevo Tarantula 3D printer. Within the software, you’ll set various print parameters, such as layer height, infill density, and printing speed. Image of 3D printer slicing software.
Steps to Connect Tevo Tarantula via USB
Following these steps will guide you through the process of connecting your Tevo Tarantula 3D printer to your computer via USB, enabling you to send print jobs and monitor the printer’s status. A smooth and reliable USB connection is essential for hassle-free 3D printing.
Install Necessary Drivers

Before connecting your Tevo Tarantula to your computer, you might need to install the appropriate drivers. Drivers are software programs that allow your computer to communicate with the printer. These drivers are often available on the printer manufacturer’s website or can be found through the slicing software installation. Follow the manufacturer’s instructions to install the drivers correctly. This will ensure your computer recognizes the printer when you connect it via USB. Image of installing drivers.
Connect the USB Cable
Once the drivers are installed (if required), physically connect the USB cable. Plug the USB Type-B connector into the port on your Tevo Tarantula printer and the USB Type-A connector into a USB port on your computer. Make sure the connection is secure on both ends. After connecting, your computer should recognize the printer, and you might hear a notification sound indicating a new device is connected. If the printer is not immediately recognized, try a different USB port on your computer or try restarting both the printer and the computer.
Configure Slicing Software
Open your 3D printer slicing software. You will need to configure the software to work with your Tevo Tarantula printer. This typically involves selecting the printer model from a list or manually entering the printer’s specifications, such as the build volume, nozzle size, and heated bed type. You’ll also need to configure the communication settings, ensuring the software knows which COM port or USB device to use for communication with the printer. Once the printer profile is set up, you can load your 3D model, adjust the print settings, and slice the model into G-code. Image of configuring slicing software.
Test the Connection

Before starting a full print, it’s recommended to test the connection by sending a simple command to the printer. Many slicing software programs have a ‘control’ or ‘machine control’ panel where you can manually send commands, such as homing the printer (moving the print head to the home position). If the printer responds to these commands, your connection is likely working correctly. You can also try printing a small test object to confirm that the printer is receiving the G-code instructions and operating as expected. If there are any issues during the test print, consult the troubleshooting tips below.
Troubleshooting Common USB Connection Problems
Sometimes, you might encounter problems when connecting your Tevo Tarantula to your computer via USB. Identifying and resolving these issues is crucial for a smooth 3D printing experience. Here are some common problems and potential solutions.
Printer Not Recognized
One of the most common issues is that your computer does not recognize the printer. If your computer isn’t detecting the printer, first, check the USB cable. Ensure the cable is securely connected at both ends and that it’s not damaged. Try a different USB port on your computer. Make sure the printer is turned on and powered up. Verify that the correct drivers are installed. If the printer still isn’t recognized, restart your computer and the printer and try again. Image of printer not recognized.
Connection Timeout Errors

Connection timeout errors occur when the computer and printer cannot establish a stable connection. This often happens when there’s interference or a poor-quality USB cable. Try using a different USB cable, preferably a shielded one. Ensure the printer is receiving a stable power supply. Close any other programs that might be interfering with the connection. In your slicing software, double-check the communication settings, such as the baud rate, to ensure they match your printer’s requirements. It may be necessary to update the printer’s firmware.
Data Transfer Issues
Data transfer issues can manifest as corrupted prints or print failures. These issues often result from communication problems. Make sure the USB cable is securely connected. Try a different USB cable. Ensure that there are no other devices connected to the same USB hub, as this can sometimes interfere with data transfer. Check for any firmware updates for your printer. If problems persist, you may need to reduce the print speed or adjust other settings in your slicing software to reduce the data load.
Tips for a Successful USB Connection
To ensure a reliable USB connection for your Tevo Tarantula 3D printer, consider the following tips, which will help minimize potential problems and optimize your printing experience.
Using a High-Quality USB Cable

Invest in a high-quality USB cable. Cheap or poorly made cables can suffer from signal degradation and interference, leading to communication errors. Choose a shielded USB cable to minimize electromagnetic interference (EMI). Ensure the cable is the correct type (USB Type-B for the printer end and USB Type-A for the computer end). Avoid using excessively long USB cables, as this can also impact signal quality. Image of a stable power supply.
Ensure Stable Power Supply
A stable and consistent power supply is crucial for both the printer and your computer. Fluctuations in power can disrupt the USB connection and potentially damage your printer. Make sure your printer is connected to a reliable power outlet. Consider using a surge protector to safeguard against power surges. If you experience frequent power outages, you might consider using an uninterruptible power supply (UPS) to protect your printer and computer. Image of a stable power supply.
Keep Firmware Up to Date
Regularly update the firmware on your Tevo Tarantula 3D printer. Firmware updates often include bug fixes and improvements to the printer’s performance and communication capabilities. Check the manufacturer’s website or the documentation for your printer model to learn how to update the firmware. Keeping the firmware up to date can resolve connection problems and improve the overall printing experience.
Conclusion
Connecting your Tevo Tarantula 3D printer via USB opens up a world of possibilities for your 3D printing projects. By following the steps in this guide, you can establish a reliable USB connection and enjoy a smooth and efficient printing process. Remember to troubleshoot any connection issues and to implement the tips provided to optimize your printing experience. With a stable USB connection, you’ll be well on your way to creating amazing 3D prints.