Tevo Tarantula Pro BLTouch Setup Top 5 Tips
Upgrading your Tevo Tarantula Pro with a BLTouch sensor is a fantastic way to improve your 3D printing experience. This little device automates bed leveling, which is often the most frustrating part of 3D printing. Say goodbye to manual adjustments and hello to consistently perfect first layers. In this guide, we’ll explore the top 5 tips to help you set up your BLTouch on your Tevo Tarantula Pro with ease. We’ll cover everything from understanding the BLTouch to troubleshooting common issues, ensuring a smooth and successful upgrade. This guide simplifies the process, even for beginners.
Tip 1 Understanding BLTouch and Its Function
Before diving into the setup, it’s crucial to understand what a BLTouch is and how it works. The BLTouch is a type of auto-bed leveling (ABL) sensor. It uses a small probe that extends and retracts to measure the distance between the nozzle and the print bed at multiple points. This data is then used by the printer’s firmware to create a virtual bed map. This map compensates for any imperfections or unevenness in the bed surface, ensuring that the nozzle is always the correct distance from the bed during printing. This leads to better first-layer adhesion and more consistent prints.
How BLTouch Enhances 3D Printing

The primary benefit of a BLTouch is automated bed leveling. This eliminates the need for manual adjustments, saving time and reducing frustration. It also improves print quality by ensuring a consistent first layer, which is critical for successful prints. With the BLTouch, you’ll experience fewer failed prints due to bed adhesion problems, warped prints, or nozzle crashes. Additionally, the BLTouch allows you to print on slightly uneven beds, expanding your material and bed options.
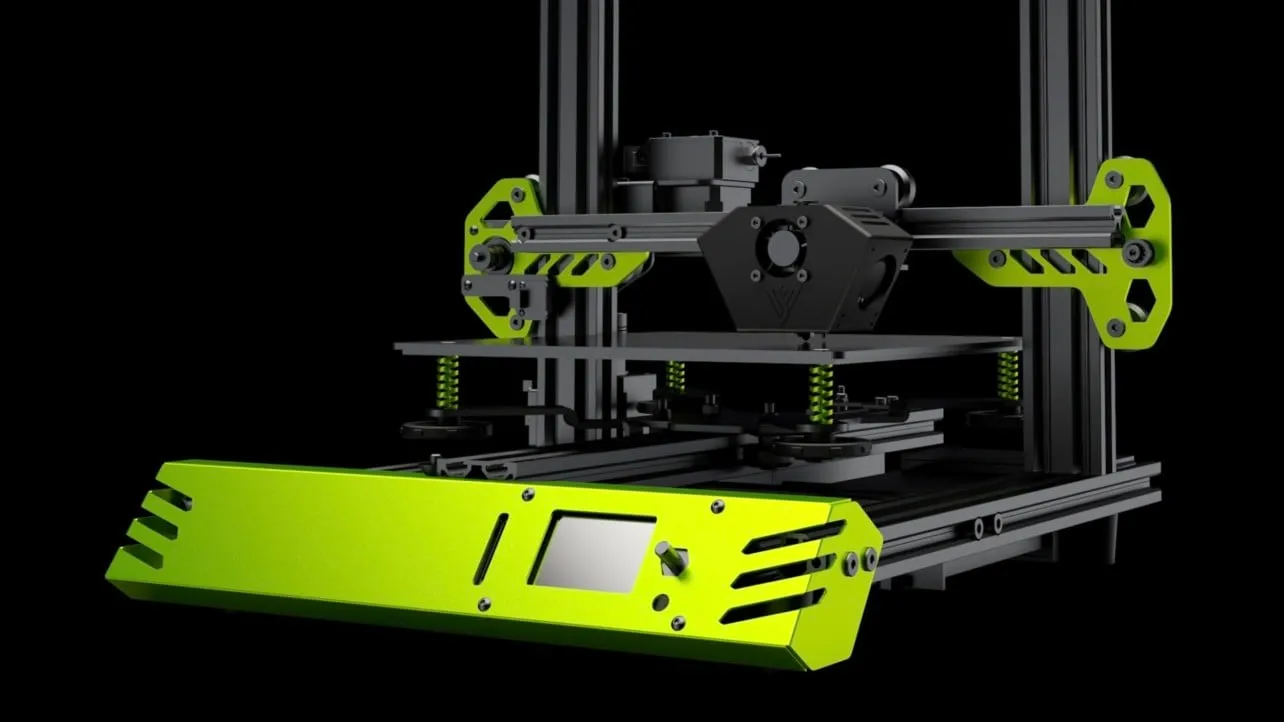
Components of a BLTouch System
A BLTouch system consists of the BLTouch sensor itself, which includes the probe, the control board, and the connecting wires. You’ll also need a compatible 3D printer, like the Tevo Tarantula Pro, with a mainboard that supports the BLTouch. You’ll need a mounting bracket to attach the BLTouch to your printer’s hotend assembly. Additionally, you’ll need the necessary firmware and a way to upload it to your printer (typically via an SD card or USB connection). The image below shows the main components of the BLTouch sensor.
Tip 2 Preparing Your Tevo Tarantula Pro for BLTouch
Before installing the BLTouch, you need to gather the necessary tools and materials. You’ll need the BLTouch sensor, a mounting bracket specifically designed for the Tevo Tarantula Pro, screws for mounting, and wiring connectors. A multimeter can be helpful for checking connections. You’ll also need access to your printer’s firmware and the tools to flash it. Make sure to have your printer’s manual handy for reference.
Necessary Tools and Materials

Essential tools include a screwdriver set, a wire stripper and crimper, and a multimeter. You’ll also need the BLTouch sensor, the mounting bracket, and any required screws and connectors. Having these tools ready beforehand will make the installation process much smoother. Ensure you have a USB cable or SD card for uploading the firmware. Consider having some extra wires on hand, just in case.
Firmware Compatibility Considerations
The firmware on your Tevo Tarantula Pro must be compatible with the BLTouch. You’ll need to flash your printer’s firmware with a version that supports auto-bed leveling. Marlin firmware is a popular choice and widely supported. Research the correct firmware for your printer’s mainboard and ensure it includes BLTouch support. Many pre-compiled firmware versions are available online. Back up your existing firmware before flashing a new one, just in case you need to revert.
Tip 3 BLTouch Installation Guide
The physical installation of the BLTouch involves mounting the sensor and connecting the wires to the mainboard. Start by attaching the BLTouch to the mounting bracket. Then, mount the bracket to the hotend assembly on your Tevo Tarantula Pro. Ensure the probe tip is positioned correctly, typically a few millimeters below the nozzle. Next, wire the BLTouch to your printer’s mainboard, following the wiring diagram provided in the BLTouch documentation.
Wiring the BLTouch to the Mainboard

Wiring the BLTouch correctly is essential. Most BLTouch sensors use a 5-pin connector. The wiring typically consists of three wires for power (VCC and GND) and two wires for the signal (control). Carefully identify the correct pins on your printer’s mainboard and connect the BLTouch wires accordingly. Double-check all connections to prevent shorts or incorrect signals. Refer to your printer’s mainboard documentation for the pinout, as it can vary between models. The image below shows a typical wiring diagram.
Mounting the BLTouch Sensor
The mounting bracket is usually designed to be attached to the existing hotend assembly. Position the BLTouch so that the probe is below the nozzle tip. The exact distance varies but is typically between 2-4mm. Ensure that the probe can deploy and retract freely without obstruction. The bracket should be sturdy and not prone to vibration. Make sure the nozzle doesn’t collide with the bed when the probe is deployed.
Tip 4 Firmware Configuration and Calibration
After installing the BLTouch, you must configure and calibrate the firmware. First, upload the modified firmware to your printer. Then, you will need to adjust settings related to the BLTouch, such as the Z-offset. This tells the printer the distance between the BLTouch probe and the nozzle tip. Correct calibration is crucial for accurate bed leveling and successful prints. Finally, perform a bed leveling routine to verify that the BLTouch is working correctly.
Uploading the Modified Firmware

The process for uploading the firmware depends on your printer’s mainboard. Typically, you’ll use an SD card or USB connection. Copy the firmware file to the SD card and insert it into your printer, or connect your printer to your computer via USB and use a flashing software (like Pronterface or Arduino IDE) to upload the firmware. After the firmware is uploaded, restart your printer to apply the changes. The image below shows the SD card upload process.
Z-Offset Calibration Process
The Z-offset is the most important setting to calibrate. This tells your printer how far the nozzle needs to be from the bed when the BLTouch probe is triggered. Use the printer’s control panel to move the nozzle close to the bed, then trigger the BLTouch. Adjust the Z-offset value in the firmware settings until the nozzle is at the correct height – typically just a hair’s breadth from the bed. You can usually adjust the Z-offset while printing the first layer. The image below illustrates the process.
Bed Leveling Procedures
After setting the Z-offset, run the bed leveling routine. Most firmware includes a command to automatically level the bed. The BLTouch will measure the bed surface at several points, creating a mesh. This mesh is used to compensate for any unevenness. Make sure the probe deploys and retracts during this process. After the bed leveling is complete, you can start printing and enjoy your consistently level bed.
Tip 5 Troubleshooting Common Issues

Even with careful setup, you might encounter issues. Troubleshooting is a common part of the process. Common problems include the BLTouch not deploying, incorrect Z-offset, or poor first-layer adhesion. If you encounter a problem, don’t panic; there are solutions. Check your wiring, firmware settings, and mechanical setup. Online resources like forums and communities are great for finding solutions.
BLTouch Not Deploying or Stowing
If the BLTouch doesn’t deploy or stow, check the wiring and firmware settings. Ensure the power and signal wires are connected correctly. In the firmware, verify that the BLTouch is enabled and that the correct pin numbers are set. Sometimes, the probe can be bent, and the sensor will need to be replaced. There could be a problem with the control signal, or the probe tip is blocked.
Incorrect Z-Offset Issues
Incorrect Z-offset can result in the nozzle being too far from the bed, leading to poor adhesion, or the nozzle being too close, potentially causing damage to the bed or nozzle. Carefully calibrate the Z-offset. Start by adjusting the Z-offset in small increments. Try printing a small test piece to fine-tune the settings. Repeat the adjustment process if needed.
First Layer Adhesion Problems

Poor first-layer adhesion can stem from incorrect Z-offset, bed temperature issues, or a dirty bed surface. Clean the bed with isopropyl alcohol. Make sure the bed temperature is correct for your filament. Adjust the Z-offset if needed to ensure proper nozzle-to-bed distance. Slow down the first-layer print speed to allow the filament to adhere properly. The image below shows an example of first layer adhesion issues.
In conclusion, setting up a BLTouch on your Tevo Tarantula Pro is a rewarding upgrade. By following these top 5 tips, you’ll be well on your way to a smoother and more reliable 3D printing experience. Remember to take your time, double-check connections, and consult online resources if you face any problems. Happy printing!