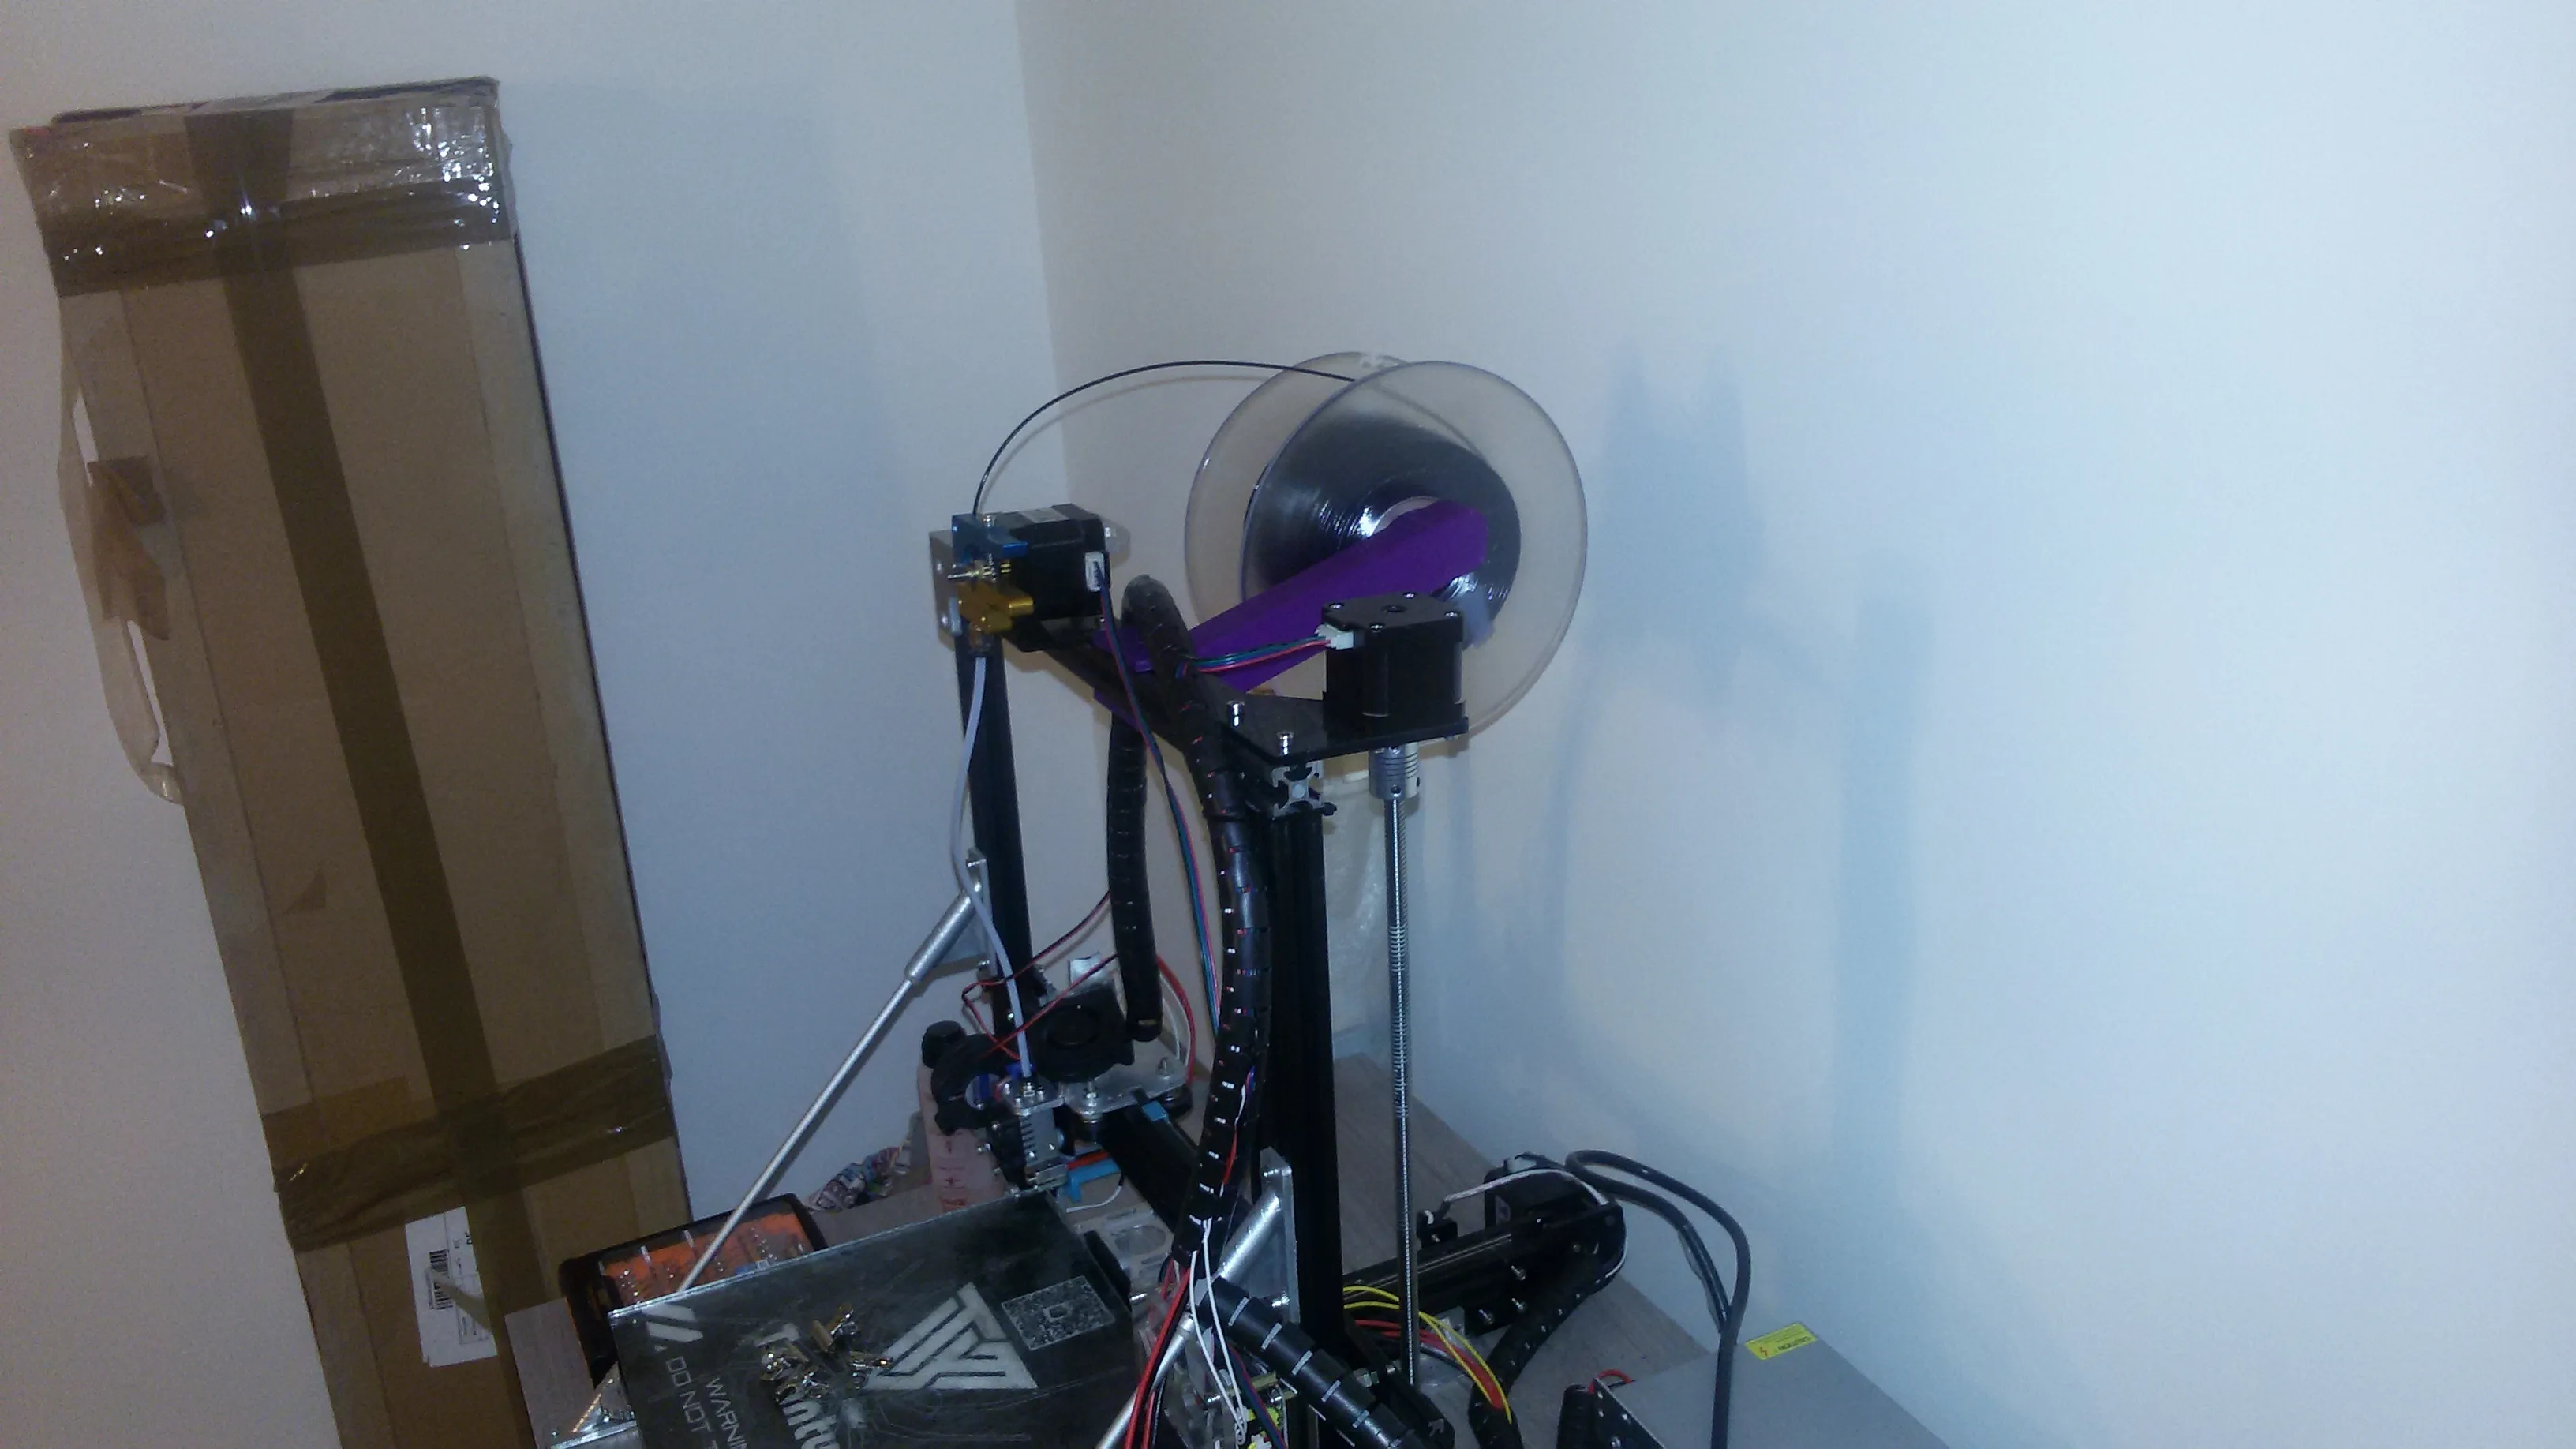
Common Filament Extrusion Problems on Tevo Tarantula
Having issues with your Tevo Tarantula 3D printer not extruding filament can be incredibly frustrating, bringing your printing projects to a standstill. This problem is one of the most common hurdles faced by 3D printing enthusiasts. Fortunately, most extrusion problems have straightforward solutions. This guide will walk you through five common issues that can prevent your Tevo Tarantula from extruding filament correctly. We’ll cover everything from clogged nozzles and incorrect temperatures to filament problems, extruder issues, and bed leveling. By the end of this guide, you’ll be well-equipped to diagnose and fix these problems, getting your printer back up and running smoothly.
Clogged Nozzle
A clogged nozzle is one of the most frequent culprits behind filament extrusion failures. Over time, small particles of filament or debris can build up within the nozzle, obstructing the flow of material. This can be caused by several factors, including using filament that has not been properly stored, printing at incorrect temperatures, or using low-quality filament. When the nozzle is clogged, the filament cannot be pushed through, resulting in failed prints or no extrusion at all. Addressing this issue promptly is crucial for maintaining your printer’s performance.
Causes of a Clogged Nozzle
Several factors can contribute to a clogged nozzle on your Tevo Tarantula. One primary cause is using filament that contains impurities or has degraded. Also, printing at temperatures too low for the filament type can cause the filament to solidify inside the nozzle before it is extruded. Another common cause is the presence of dust or debris that gets into the nozzle during the printing process. Furthermore, heat creep, where heat travels up the nozzle and melts the filament prematurely, can also lead to clogs. Finally, failing to retract the filament properly can cause melted plastic to remain in the nozzle and solidify.
How to Clean a Clogged Nozzle
Cleaning a clogged nozzle involves a few different methods. You can start by heating up the nozzle to the recommended printing temperature for your filament and manually extruding the filament, which may push the clog out. If this doesn’t work, a ‘cold pull’ is a useful technique. Heat the nozzle, extrude some filament, and then cool the nozzle down. Once cool, heat the nozzle again, and try to pull the filament out, taking the clog with it. Another method involves using a thin needle or a specialized nozzle cleaning tool to manually clear the obstruction. Regular nozzle maintenance is key to preventing clogs and ensuring smooth printing. Consider getting a nozzle cleaning kit to help you. If a clog is severe, you might need to replace the nozzle.
Incorrect Nozzle Temperature
The temperature of your nozzle is critical for successful filament extrusion. If the nozzle temperature is too low, the filament will not melt properly, and it won’t be able to flow through the nozzle. On the other hand, if the temperature is too high, the filament can degrade, or it can cause problems like oozing and stringing. Ensuring the correct temperature setting for your filament type is crucial for proper extrusion. Always refer to the filament manufacturer’s recommended temperature range and adjust accordingly.
Understanding the Ideal Temperature Range
Different types of filaments require different printing temperatures. For instance, PLA (Polylactic Acid) typically prints between 190°C and 220°C, while ABS (Acrylonitrile Butadiene Styrene) requires a higher range, usually from 230°C to 250°C. PETG (Polyethylene Terephthalate Glycol) falls somewhere in between. The optimal temperature also depends on the specific brand and grade of filament you are using. Always consult the filament packaging or the manufacturer’s website for the recommended temperature range. Using a temperature tower test print is an excellent way to find the ideal temperature setting.
Adjusting the Nozzle Temperature
You can adjust the nozzle temperature through your 3D printer’s control panel or the slicing software you’re using. Start by setting the temperature within the recommended range for your filament. If the filament isn’t extruding properly, try increasing the temperature in small increments (e.g., 5°C at a time) until the filament flows smoothly. If you observe excessive oozing or stringing, reduce the temperature slightly. Make sure to allow the printer to reach the new temperature before attempting to extrude the filament. Keep in mind that your printer’s environment can also affect the temperature, so make adjustments as needed.
Filament Problems
The quality and condition of your filament can significantly impact extrusion. Using the wrong diameter filament or filament that has absorbed moisture can lead to extrusion failures. Filament that is old, poorly stored, or from a low-quality manufacturer can also cause problems. Always examine your filament for any signs of damage or improper storage before starting a print. Ensuring the filament is in good condition and compatible with your printer is essential for successful 3D printing.
Incorrect Filament Diameter
Most 3D printers, including the Tevo Tarantula, are designed to work with either 1.75mm or 3mm filament. Using the wrong diameter filament can prevent extrusion because the filament won’t fit through the extruder or nozzle. Check the specifications of your printer to determine the correct filament diameter. If you accidentally purchased the wrong size, you won’t be able to print. Always double-check your filament packaging to make sure it matches your printer’s requirements. It’s also crucial to ensure your slicer software is configured for the correct filament diameter; otherwise, the printer will try to extrude the wrong amount of material.
Filament Diameter and Printer Compatibility
The Tevo Tarantula, like most desktop 3D printers, typically uses 1.75mm filament. Confirming this is easy, just check the specifications of your printer. Ensure your slicer settings are configured for this size. Incorrect settings will cause under-extrusion or complete failure. If you have the wrong size, you will need to purchase the right size for the printer to function. Also, verify that your extruder is correctly set up to handle the filament size. Some extruders might have adjustable settings for different filament sizes, so make sure the settings are correct.
Filament Moisture Absorption
Many filaments, especially materials like nylon and PETG, readily absorb moisture from the air. This moisture can cause several issues, including poor adhesion, stringing, and, most importantly, extrusion problems. Moisture-laden filament can cause the filament to bubble and sputter as it extrudes, leading to inconsistent layers or complete extrusion failure. Storing your filament properly and drying it before use can resolve many of these issues. Using a hygrometer to check humidity level is a good habit to maintain.
How to Dry Your Filament
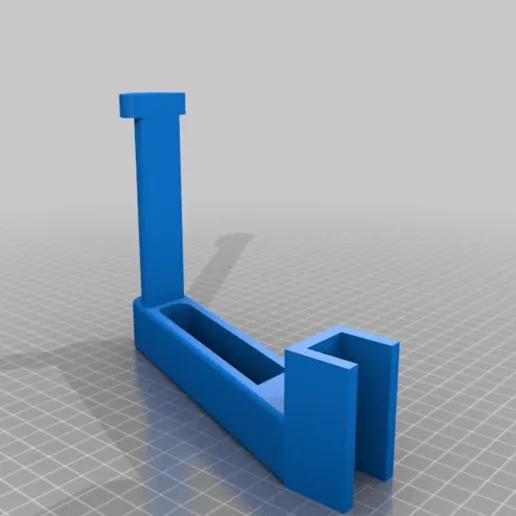
Drying your filament is a straightforward process. You can use a dedicated filament dryer, which provides a controlled environment to remove moisture. Alternatively, you can use your 3D printer’s heated bed or an oven (make sure to use low heat and monitor the process closely to prevent melting the filament). The drying time and temperature depend on the filament type. PLA typically requires less drying time and lower temperatures than ABS or nylon. Consult the filament manufacturer’s recommendations for the best drying process. Storing filament in airtight containers with desiccant packs helps prevent moisture absorption.
Extruder Issues
The extruder is responsible for feeding the filament into the hot end. Issues with the extruder can also lead to extrusion problems. Problems in the extruder can range from worn-out extruder gears to incorrect tension on the filament. These issues prevent the extruder from properly gripping and pushing the filament through the nozzle. Regular maintenance and inspection of your extruder can prevent these issues and keep your 3D printer running smoothly.
Extruder Gear Problems
The extruder gear is a critical component that grips the filament and pushes it towards the hot end. Over time, the teeth on the gear can wear down, or debris can accumulate, preventing the gear from effectively gripping the filament. This can lead to under-extrusion or no extrusion. Inspect the gear regularly for wear and tear, and clean it to remove any debris. A worn gear might need to be replaced. Also, check the tension on the extruder gear to ensure it’s properly pressing against the filament, allowing it to grip and feed correctly.
Solutions for Extruder Gear Issues
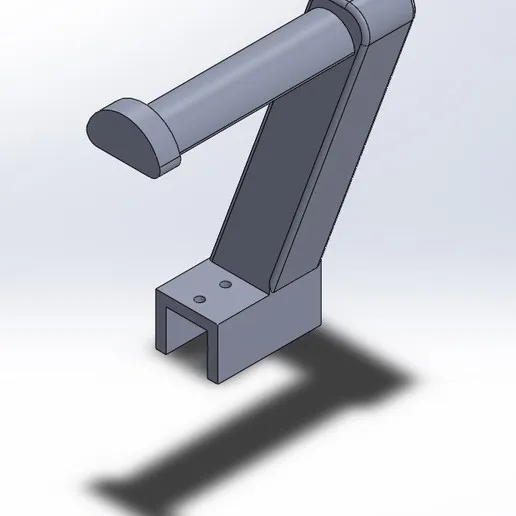
If you find issues with the extruder gear, several solutions can help. First, try cleaning the gear with a small brush or compressed air to remove any accumulated debris. If the gear is worn, consider replacing it. Replacement gears are available for the Tevo Tarantula and are generally inexpensive. Ensure proper tension on the extruder gear; adjust the tension screw as needed. Furthermore, ensure the filament path is clear and that the filament can move freely to the nozzle. Regular maintenance, including cleaning and inspection, will prevent future issues and keep your extruder working effectively.
Extruder Calibration
Calibrating your extruder ensures it’s pushing the correct amount of filament. Under-extrusion or over-extrusion can result from incorrect calibration, leading to poor print quality or no extrusion at all. The e-steps value, which indicates the number of steps the extruder motor takes to push a certain length of filament, needs to be calibrated. You can calibrate e-steps through your printer’s firmware or by adjusting settings in your slicer software. There are many online guides and tutorials that can help you calibrate your e-steps accurately. Performing this calibration is a must to ensure the correct extrusion.
Bed Leveling and Z-offset
Proper bed leveling and the correct Z-offset are essential for successful 3D printing, including filament extrusion. If the bed is not level, the nozzle might be too close to the bed in some areas and too far away in others. This can lead to poor first-layer adhesion or the nozzle not extruding filament correctly. The Z-offset, which determines the distance between the nozzle and the bed, must also be correctly set. Incorrect settings will obstruct the filament flow. Taking the time to ensure your bed is correctly leveled and the Z-offset is correct will fix many extrusion issues.
Bed Leveling Techniques
There are several ways to level the bed on your Tevo Tarantula. You can use the manual method, where you adjust the bed leveling screws while using a piece of paper to gauge the distance between the nozzle and the bed. You can also use auto-bed leveling systems if your printer is equipped with one. Ensure the nozzle is not too far from the bed (which would cause the filament not to stick) or too close (which would restrict the filament flow). Repeat these steps until the nozzle has an ideal gap between the bed. Level the bed before each print, or at least periodically, to ensure good adhesion and proper extrusion.
Adjusting the Z-offset
The Z-offset determines the distance between the nozzle and the bed. You must set it to ensure the filament can properly adhere to the bed. If the Z-offset is too high, the filament won’t stick; if it’s too low, the nozzle will scrape the bed. Most 3D printers allow you to adjust the Z-offset through the control panel. Start by setting the Z-offset to zero and then adjust it incrementally while printing a test pattern. A good Z-offset setting allows the filament to be slightly squished onto the bed, improving adhesion without causing the nozzle to scrape. Experiment with small adjustments until you find the setting that provides the best first layer.
Conclusion
Troubleshooting filament extrusion issues on your Tevo Tarantula can be broken down into the common fixes discussed above. By carefully inspecting the nozzle, temperature settings, filament condition, extruder, and bed level, you can identify and resolve most problems. Regular maintenance and attention to detail are key to ensuring your 3D printer operates smoothly and reliably. With these troubleshooting tips, you’ll be back to printing successfully in no time. Remember to always consult the filament manufacturer’s guidelines and printer specifications for optimal performance.
