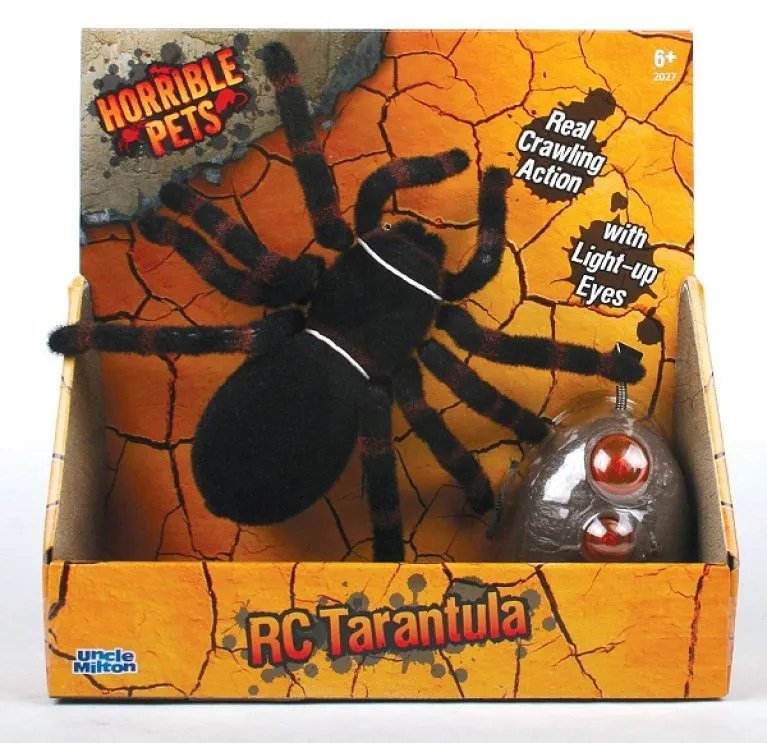
What is a Remote Control Tarantula
A remote control tarantula is a fascinating DIY project that combines elements of robotics, model making, and electronics. It allows you to build a model tarantula that you can control remotely, providing a fun and educational experience. This project is perfect for hobbyists, students, and anyone interested in learning about robotics and mechatronics. Building a remote control tarantula involves understanding the mechanics of movement, the principles of electronics, and the basics of programming. The result is a unique creation that brings the world of arachnids to life in a miniature, controllable form. This guide provides easy instructions to help you succeed. The project promotes creativity and hands-on learning, and also allows for personalization to give your tarantula a unique personality.
Materials Needed
Before you begin, gather all the necessary materials. This ensures a smooth building process and prevents delays. Here’s a list of essential items. First you will need motors, we recommend at least six small DC motors for the legs. A microcontroller such as an Arduino Nano or similar to control the motors is also required. You will need a remote control and receiver set to transmit control signals to the microcontroller, along with a battery pack. The body of the tarantula can be constructed from various materials, such as plastic, foam, or 3D-printed parts. Wires, connectors, and a soldering iron are crucial for assembling the electrical components. Finally, tools like a hot glue gun, screwdrivers, and pliers will also be needed. Gathering these items beforehand will ensure that you are well-prepared to build your remote control tarantula.
Motors and Control System

The motors and control system are the heart of your remote control tarantula, enabling its movement and responsiveness. The selection of motors directly impacts the speed, power, and agility of your tarantula. The control system, consisting of a microcontroller and remote control, dictates how you command your creation. Careful consideration of these components will ensure a smooth and enjoyable operation of your remote control tarantula.
Choosing the Right Motors
Selecting the right motors is crucial for the functionality of your remote control tarantula. Small DC motors are typically used for their size and ease of control. Consider the torque and RPM (revolutions per minute) of the motors. Higher torque is needed for moving the legs effectively, while a suitable RPM will affect the walking speed. When selecting motors, check the voltage requirements to match your power source. It’s a good practice to buy a few extra motors in case of failures. Consider the motor size to fit within the tarantula body design. Ensure the motors are compatible with your chosen control board and power source for optimal performance.
Selecting the Control Board
The control board acts as the brain of the remote control tarantula, interpreting signals from the remote control and controlling the motors. An Arduino Nano or similar microcontroller is ideal for this project due to its small size, ease of programming, and widespread support. Consider the number of digital and analog pins available on the control board to accommodate all the motors and other sensors you might add. The board should be compatible with the chosen remote control system. Research the software environment for programming your chosen board, ensuring you are familiar with the necessary coding language. Make sure to choose a board that is readily available, and well-documented to help during setup and troubleshooting.
Building the Tarantula Body

The body of the remote control tarantula provides the structural support for the legs, motors, and electronics. The choice of materials will influence the weight, durability, and aesthetics of your creation. Start by deciding on a design; whether you want a realistic look or a more stylized version. Consider using lightweight materials like foam board or plastic sheets, and consider 3D printing for complex designs. The body should be large enough to house all the internal components without being too bulky. Cut the materials according to your design, then assemble them using glue, screws, or any other appropriate fasteners. Remember to create openings for the legs and any sensors or lights that you plan to incorporate. The body’s construction is a creative process, and you can customize it as you wish.
Leg Design and Construction
The legs of the remote control tarantula are crucial for its movement and stability. You can choose from a variety of leg designs, ranging from simple to complex. Consider the joint mechanisms, which determine how the legs bend and move. The materials used should be both lightweight and durable, such as thin plastic rods or wire. The leg design needs to allow for the attachment of the motors, as well as provide enough ground clearance for the body. Construct the legs in a way that allows for easy attachment to the body. The number of legs will affect stability, but six or eight legs are common for a tarantula model. Be sure to test the leg design before final assembly to ensure the tarantula can walk properly.
Attaching the Legs to the Body
Attaching the legs to the body is a critical step that impacts the tarantula’s movement and stability. The attachment method should provide a strong and secure connection. Depending on your body design, you may need to use glue, screws, or brackets. Ensure that the legs are positioned correctly to mimic the natural movement of a real tarantula. You need to align the legs so that they will allow for a stable walking motion. Test the positioning of the legs before finalizing the attachment. Make sure the legs can move freely without bumping into the body or other components. This step may require some adjustments to achieve the ideal gait. Take your time and ensure the legs are attached securely to the body for optimal performance.
Wiring and Electronics

The wiring and electronics are the nervous system of your remote control tarantula. It connects all the components to the control board and power source. Properly wiring the electronics is essential for functionality and safe operation. This involves connecting the motors to the control board and the receiver to the control board. Pay careful attention to polarity to prevent damage to the components. It is a good practice to organize and label the wires to help with troubleshooting. Ensure all connections are secure to prevent loose connections. Test each connection with a multimeter. This will guarantee that your remote control tarantula is functioning correctly.
Connecting the Motors to the Control Board
Connecting the motors to the control board is a critical step in enabling the tarantula’s movement. Begin by identifying the motor control pins on the control board, which may require the use of motor drivers or motor shields. Connect the motor wires to the corresponding pins on the motor driver. The wiring must match the motor’s direction to allow proper control. Double-check the connections to make sure all wires are properly secured and connected. You might need to use a breadboard to facilitate the wiring process. Once the connections are complete, test the motor’s rotation using the code you’ll write later. Proper wiring is crucial to control and move the legs as intended.
Powering the Tarantula
Selecting and connecting a power source is a vital part of the build. Batteries are a common choice for powering the tarantula, as they offer portability and are easy to replace. Consider the voltage and current requirements of the motors and control board when choosing your battery. Use a battery holder to safely secure the batteries. Always follow the polarity markings on the batteries and the power connectors. Connect the power source to the control board using the appropriate connectors. Consider a switch to easily turn the power on and off. Make sure to use a safe and properly regulated power supply to prevent damage to the electronics. Check the voltage levels before powering on to verify that all components receive the correct power supply.
Programming and Testing

Programming and testing are essential phases in bringing your remote control tarantula to life. Programming involves writing the code that controls the motors and interprets signals from the remote control. Testing ensures that the tarantula responds correctly to the commands. Debugging and troubleshooting will allow for refinements, to ensure the tarantula’s performance. Thorough testing and adjustment will lead to a more functional, responsive, and engaging remote control tarantula. This is the stage where your efforts translate into motion and control.
Programming the Control Board
Programming is the process of writing and uploading code to the control board, that defines how the motors will move in response to the remote control. You’ll need to install the necessary software and libraries for your chosen control board. Write the code to control the motors based on the remote control input. This may involve mapping the remote control buttons to specific motor movements. Test the code in stages, starting with simple movements before adding more complex actions. Add comments to your code for future reference and easy debugging. Once the code is uploaded, test the remote control functions. The correct code is crucial for movement and functionality.
Testing and Troubleshooting
Testing your remote control tarantula involves verifying its functionality and identifying any issues. Start by testing the basic movements, like forward, backward, and turning. Observe the leg movements and make adjustments as needed. If the tarantula is not responding to the remote control, check the connections between the remote control and the receiver. Check all the motor wiring and programming code for errors. Use a multimeter to test the voltage and current levels to ensure all components receive the correct power. Iterate on the code and design based on your testing results. Be patient and methodical throughout this process, as it is an integral part of ensuring your remote control tarantula performs correctly.
Final Touches and Customization
Final touches and customization allow you to add a personal touch to your remote control tarantula and to make it more realistic or unique. This includes the addition of details that enhance the appearance and improve the functionality of your creation. From realistic detailing to adding personality, this stage lets you showcase your creativity. These finishing touches will make your remote control tarantula unique.
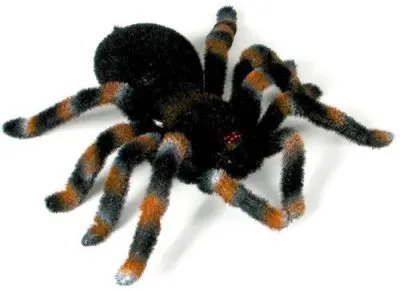
Adding Realistic Details
Adding realistic details will bring your remote control tarantula to life. Start by studying the anatomy of a tarantula to get inspiration for your design. Consider adding features such as realistic eyes, fangs, and a hairy texture. Use paint, markers, or adhesive materials to create the desired effects. Focus on the details that make the tarantula recognizable and visually appealing. Consider adding other components to improve realism. The addition of realistic details will enhance the overall look and feel of the project. This will transform your creation from a simple robotic model into a lifelike representation of a tarantula.
Painting and Finishing
The final step is painting and finishing your remote control tarantula. Use appropriate paints and finishes based on the materials you have used to build the tarantula. Consider using an airbrush or spray paint for even coverage. Apply multiple layers of paint, allowing each layer to dry before applying the next. Consider using protective clear coats to protect the paint and add a glossy or matte finish. This will ensure that the colors will be vibrant and durable. This finishing step will enhance the visual appeal of the remote control tarantula.