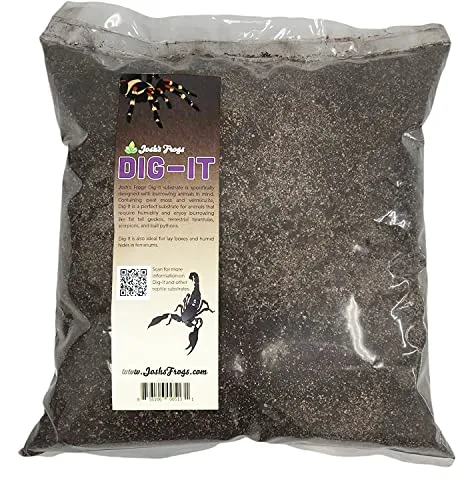
Understanding Tarantula Substrate Needs
Creating the perfect habitat for your tarantula is crucial for its health and well-being. A key component of this habitat is the substrate the material that lines the bottom of the enclosure. The right substrate not only provides a comfortable environment for your tarantula but also helps regulate humidity, aids in burrowing, and mimics its natural habitat. Choosing the appropriate substrate can significantly impact your tarantula’s quality of life. Different species of tarantulas have varying needs, so understanding these needs is the first step in providing the best possible care. Considerations include the tarantula’s natural environment, its size, and its specific behaviors like burrowing or arboreal tendencies. A well-chosen substrate contributes to a healthier, happier tarantula and a more enriching experience for the owner.
Why DIY Substrate Matters
Making your own tarantula substrate offers several advantages over pre-packaged options. Firstly, DIY allows you to customize the substrate to meet the specific needs of your tarantula species. You can tailor the composition to achieve the ideal humidity levels, drainage, and texture. Secondly, DIY substrate can be more cost-effective, especially if you have multiple tarantulas or a large enclosure. Purchasing materials in bulk often reduces the overall expense compared to buying smaller, pre-mixed bags. Thirdly, you have complete control over the ingredients, ensuring that the substrate is free from harmful chemicals or additives that could potentially harm your tarantula. Finally, making your own substrate is a rewarding experience, allowing you to create a more natural and enriching environment for your pet, fostering a deeper connection between you and your tarantula.
Benefits of Making Your Own Substrate
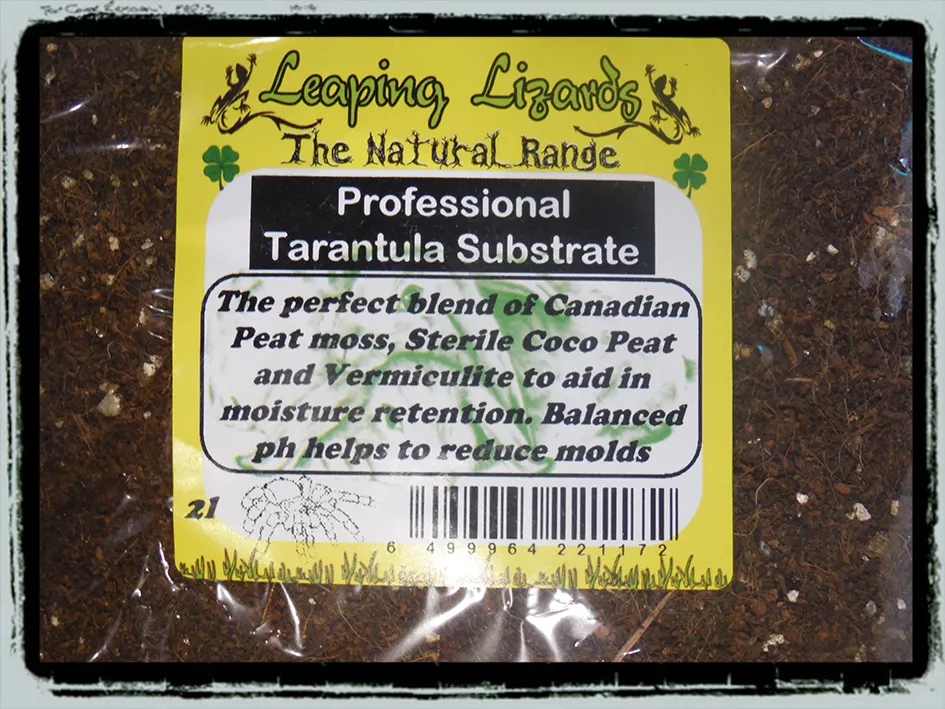
The benefits of making your own tarantula substrate go beyond just cost savings and customization. By controlling the ingredients, you ensure the absence of pesticides or fertilizers that could be detrimental to your tarantula’s health. This is especially important as tarantulas are sensitive to environmental toxins. Additionally, a DIY approach allows for the creation of a substrate that closely mimics the tarantula’s natural habitat, promoting natural behaviors like burrowing and web-spinning. A well-made substrate provides proper moisture retention, which is critical for maintaining humidity levels that are essential for molting and overall health. Furthermore, the process of creating the substrate can be an educational opportunity, deepening your understanding of tarantula care and the specific needs of your pet.
DIY Substrate Recipe 1 Coconut Fiber
Ingredients Required
Coconut fiber, also known as coco coir, is a popular and excellent choice for tarantula substrate. It’s readily available and provides several benefits. To create a coconut fiber substrate, you’ll need the coco coir itself, typically sold in compressed bricks or loose form. For optimal results, it’s beneficial to also have a spray bottle to help with hydration. You may also consider adding a small amount of sphagnum moss for added moisture retention and aesthetic appeal. Always ensure the coconut fiber is rinsed to remove any residual salts or chemicals. This simple combination is both safe and suitable for a variety of tarantula species.
Step-by-Step Preparation

Preparing coconut fiber substrate is straightforward. If you’re using a compressed brick, hydrate it by soaking it in warm water until it expands fully. Break it apart with your hands or a tool to ensure an even consistency. If using loose coco coir, ensure it’s moist but not soggy. Add water gradually, mixing it thoroughly. The substrate should feel damp to the touch, like a wrung-out sponge. If you’re adding sphagnum moss, mix it in evenly. Place the prepared substrate in your tarantula’s enclosure, providing a depth appropriate for the species, usually ranging from 2 to 6 inches. Gently level the substrate, ensuring it is not packed too tightly. This will allow for proper drainage and aeration.
Advantages and Disadvantages
Coconut fiber boasts several advantages. It excels at retaining moisture, which is crucial for maintaining humidity in the enclosure. It is also a natural product, safe for tarantulas. Additionally, it provides a good surface for burrowing. However, it may dry out relatively quickly, requiring regular misting. It can also be prone to mold growth if kept too wet, so proper ventilation is important. Some keepers find it slightly messy, as the fine particles can sometimes stick to the tarantula’s legs. Overall, coconut fiber is a versatile and reliable substrate choice that is favored by many tarantula keepers.
DIY Substrate Recipe 2 Potting Soil
Ingredients Needed
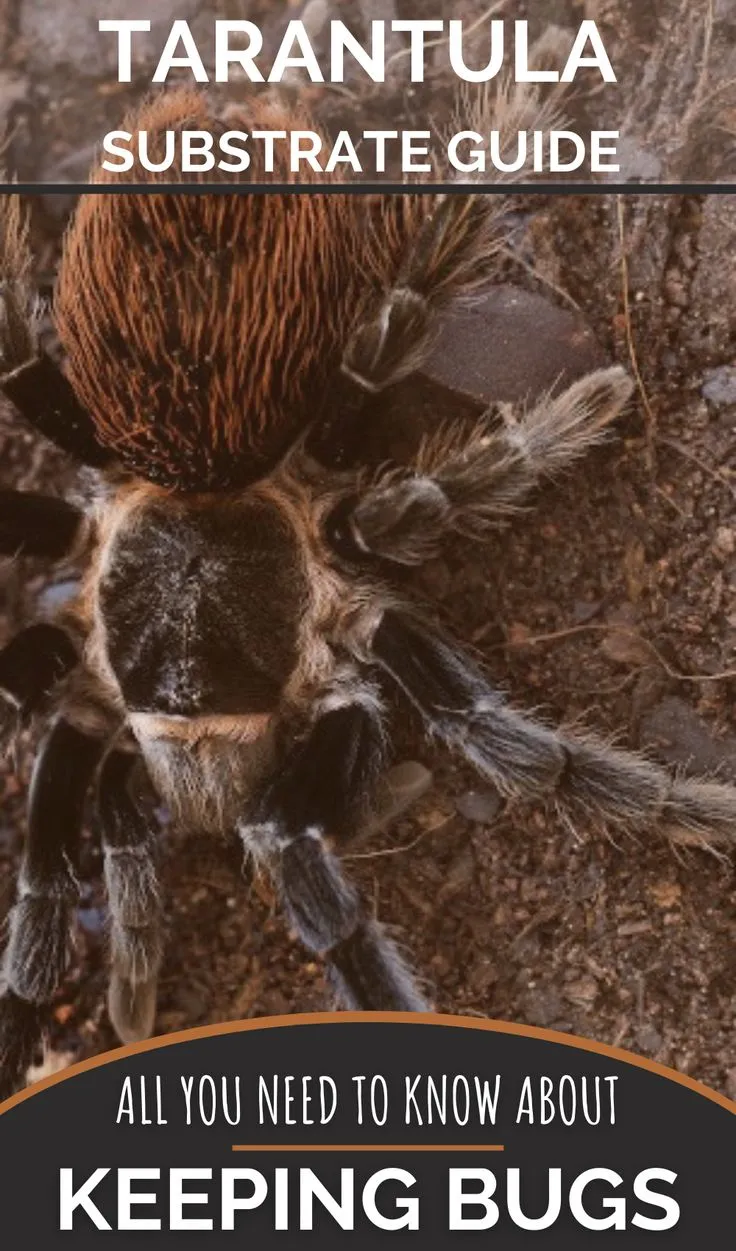
Potting soil is another option for tarantula substrate, offering a more naturalistic approach. When choosing potting soil, select an organic, peat-based mix without added fertilizers or pesticides. These additives can be harmful to your tarantula. Look for soil that has good drainage properties. It’s often beneficial to add a layer of leaf litter and a small amount of sphagnum moss to help retain moisture and provide a more natural environment. Avoid soils containing perlite or vermiculite, as these can be ingested and potentially cause issues. Always ensure that the soil is thoroughly checked for any unwanted insects or pests before introducing it to the enclosure. This is crucial for tarantula safety.
Mixing Instructions
Preparing the potting soil involves a few simple steps. First, check the soil for any visible debris or insects. If you find any, remove them. Moisten the soil slightly, ensuring it’s damp but not waterlogged. This will help it hold its shape and provide better moisture retention. Add a layer of leaf litter, such as oak or magnolia leaves, to the top to create a more natural environment and provide hiding places. If using sphagnum moss, mix it in a small amount to help with humidity regulation. Ensure the final mixture has a consistent texture and appropriate moisture levels, which can be checked by squeezing a handful and ensuring a few drops of water come out.
Pros and Cons of Using Potting Soil
Potting soil has several advantages. It can provide a more natural environment, facilitating burrowing and mimicking the tarantula’s natural habitat. It also helps to retain moisture and regulates humidity. However, potting soil can be prone to mold growth if not properly ventilated. It might also contain unwanted pests or insects, so thorough inspection is essential. In some cases, it can also compact over time, reducing aeration. It’s important to select the right type of potting soil, preferably organic and free of additives. With careful selection and maintenance, potting soil can be a suitable option for some tarantula species.
DIY Substrate Recipe 3 Vermiculite & Perlite

Components of this Recipe
Vermiculite and perlite are often used in combination to create a substrate with excellent drainage and aeration properties. Vermiculite is a mineral that absorbs water, helping to retain moisture, while perlite is a volcanic glass that provides aeration, preventing compaction. A typical mix includes about 2 parts vermiculite to 1 part perlite, however, you can adjust the ratio based on your tarantula’s needs and the specific species. This combination is well-suited for species that prefer drier conditions and good ventilation. It’s important to source both vermiculite and perlite from a reputable supplier to ensure they are clean and free from contaminants.
How to Prepare This Blend
Preparing the vermiculite and perlite substrate is straightforward. Start by thoroughly rinsing both vermiculite and perlite to remove dust. Then, mix the two materials in the desired ratio (e.g., 2 parts vermiculite to 1 part perlite). Make sure to mix them evenly for a consistent texture. Moisten the mixture with water until it is damp, but not waterlogged. The substrate should feel slightly moist to the touch, like a wrung-out sponge. Place the prepared substrate in the enclosure, providing a depth suitable for the tarantula’s size and burrowing habits. This blend offers good drainage and aeration, making it suitable for a variety of species.
The Good and Bad
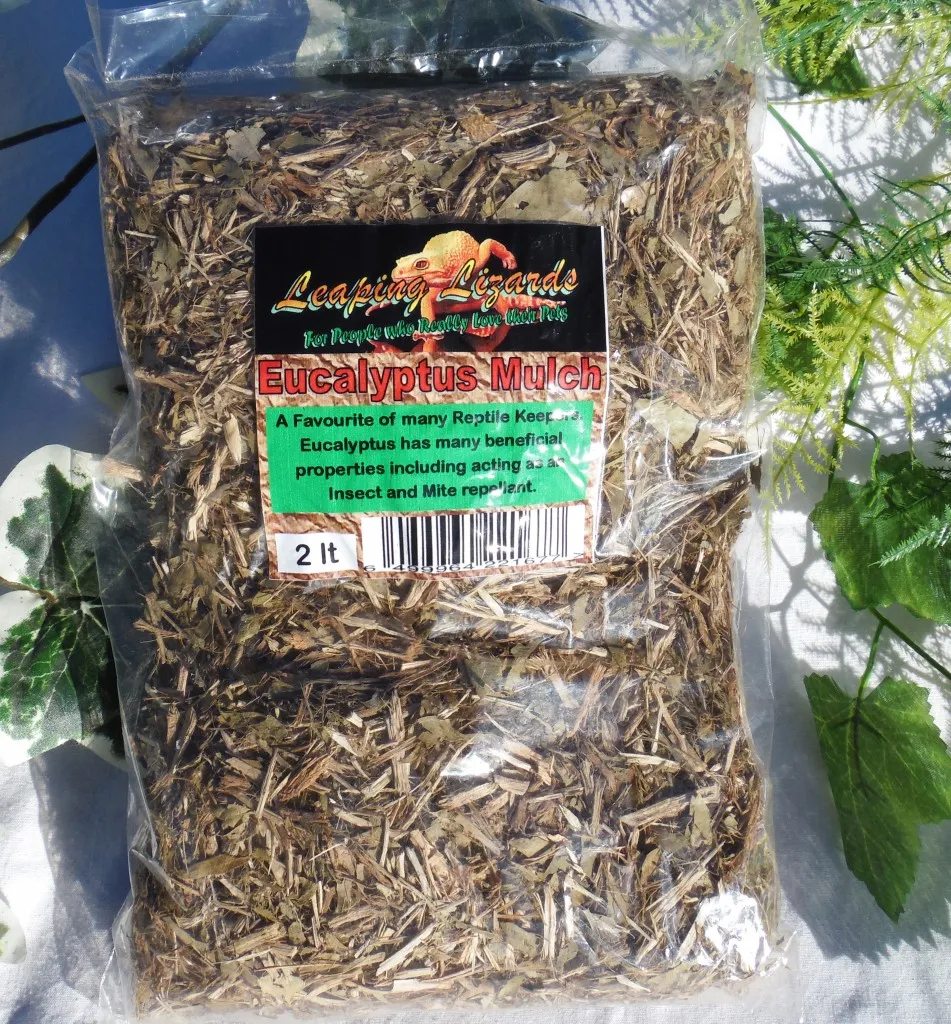
The vermiculite and perlite blend offers excellent drainage and aeration. It is particularly suitable for tarantula species that require drier environments. The components are also readily available and relatively inexpensive. However, this substrate may not retain moisture as well as other options. It might also be less suitable for species that require significant humidity. The small particles of vermiculite and perlite can sometimes get stuck on the tarantula or in its feeding appendages, though this is not always a major concern. The blend requires frequent misting to maintain proper humidity levels.
DIY Substrate Recipe 4 Sphagnum Moss
What You’ll Need
Sphagnum moss is a popular choice for tarantula substrate, particularly for species that need high humidity. To create a sphagnum moss substrate, you’ll need high-quality, dried sphagnum moss. It is available in various forms, including long-fiber moss and compressed bricks. Before use, it’s essential to thoroughly rinse the moss to remove any dust or debris. You might also consider mixing in some coco coir or other substrate material for added texture and moisture control. Make sure the moss is free from any chemicals or additives, ensuring the safety of your tarantula. Proper preparation is key for creating a suitable and beneficial environment.
Preparation Steps
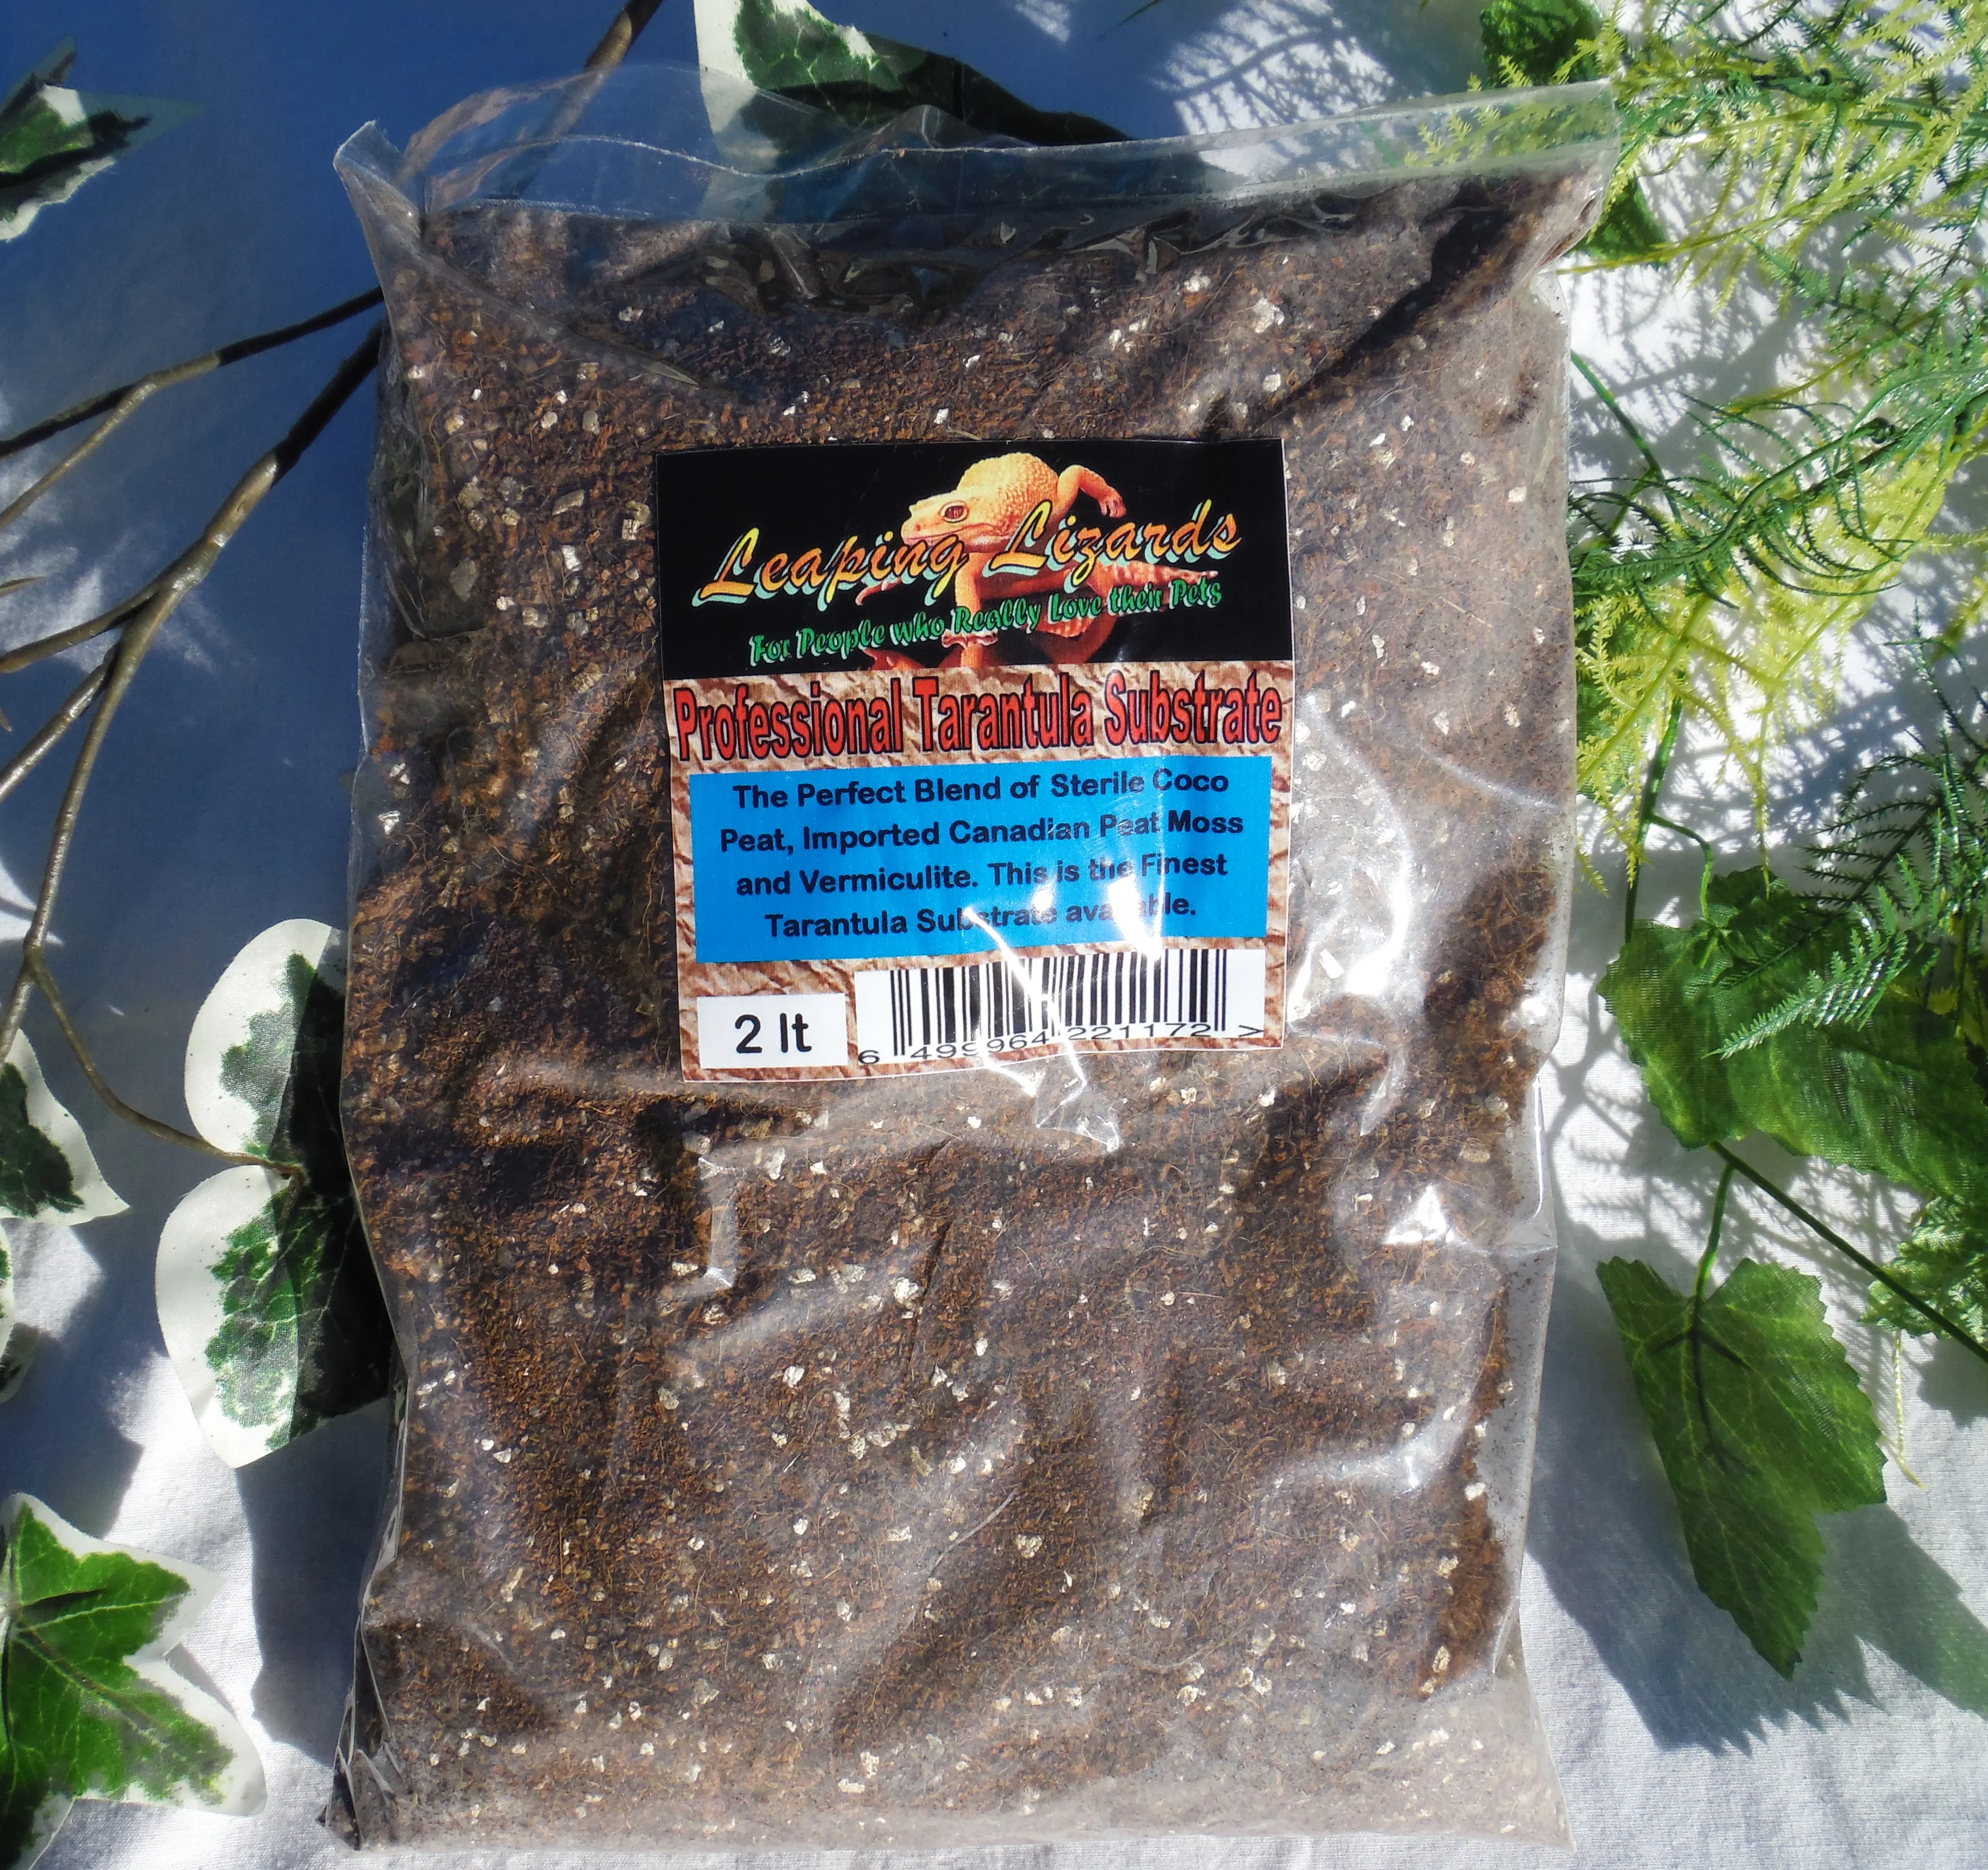
Preparing sphagnum moss for tarantula substrate involves several steps. Start by rinsing the moss thoroughly to remove any dust and debris. Then, soak the moss in warm water to rehydrate it. Allow the moss to absorb the water fully, then gently squeeze out the excess. The moss should be damp but not dripping wet. If you’re mixing it with other materials, like coco coir, combine them at this stage. Place the prepared sphagnum moss in the enclosure, ensuring a depth suitable for your tarantula. Sphagnum moss is excellent for retaining moisture, creating a humid environment ideal for many species. Make sure there is enough ventilation to avoid mold growth.
The Upsides and Downsides
Sphagnum moss offers excellent moisture retention, making it ideal for species that require high humidity. It is also aesthetically pleasing and provides a natural look to the enclosure. However, it can be prone to mold growth if not properly ventilated or if it’s kept too wet. Sphagnum moss can also be more expensive than some other substrate options. Some tarantulas may not burrow easily in sphagnum moss alone, so mixing it with other materials like coco coir can be beneficial. Regular monitoring and proper maintenance are key to ensuring the moss remains a healthy and safe substrate for your tarantula.
DIY Substrate Recipe 5 Sand & Clay
Materials Required
A sand and clay substrate is often used to replicate the desert or arid environments preferred by some tarantula species. To create this substrate, you’ll need play sand, which is readily available at most hardware stores, and a type of clay, such as red clay or excavator clay. Avoid sand that contains added chemicals or dyes. It is best to select a sand that is coarse and free of fine dust. The clay helps the substrate to hold its shape and allows the tarantula to create burrows. The proportions of sand and clay will depend on the specific tarantula species. Mixing these two materials properly is key to creating the correct habitat.
Mixing and Layering
Mixing the sand and clay involves specific steps to achieve the best results. The general ratio is about 70-80% sand to 20-30% clay. However, this can be adjusted depending on the needs of your tarantula. Mix the sand and clay thoroughly in a large container, ensuring that they are evenly distributed. Add water gradually, mixing it until the substrate holds its shape when squeezed but is not overly wet. Place the prepared sand and clay mixture in the enclosure, providing a depth suitable for your tarantula to burrow, typically several inches deep. You might also consider layering the substrate with a drainage layer at the bottom, using gravel or pebbles.
Pros and Cons of Using Sand & Clay
Sand and clay substrate is excellent for species that require a drier environment, as it helps with drainage and allows tarantulas to create sturdy burrows. However, this substrate does not retain moisture well, requiring careful monitoring and frequent misting. It is also a heavy substrate, which can make cleaning and enclosure maintenance more difficult. In some cases, the fine particles of sand may cause issues for the tarantula. The sand and clay can become dusty, and may not be the best choice for all tarantula species, especially those that prefer higher humidity levels. Regular maintenance is essential to prevent the substrate from becoming overly dry and dusty.
Maintaining and Monitoring DIY Substrate
Checking Humidity Levels
Regular monitoring of humidity levels is crucial for the health of your tarantula, and especially vital when using a DIY substrate. Use a hygrometer to measure the humidity inside the enclosure. The ideal humidity range varies depending on the species, so research your tarantula’s specific requirements. Mist the enclosure with water as needed to maintain the correct humidity levels, being careful not to oversaturate the substrate. Proper ventilation is also essential to prevent excessive moisture buildup and mold growth. Make adjustments to your misting schedule or ventilation as necessary to keep the humidity levels within the appropriate range.
Cleaning and Replacing Substrate
Regular cleaning and replacement of the substrate are vital for maintaining a healthy tarantula enclosure. Spot-clean the substrate regularly, removing any uneaten food, molts, or fecal matter. The frequency of cleaning will depend on the type of substrate and the size of your tarantula. Replace the entire substrate periodically, usually every 6 to 12 months, or more frequently if it becomes heavily soiled or shows signs of mold or infestation. During cleaning, remove the tarantula to a temporary, secure container and replace the substrate with fresh, prepared material. Proper cleaning prevents the buildup of harmful bacteria and maintains a healthy environment.
Signs of a Problem with Your Substrate
It’s important to recognize the signs of potential problems with your tarantula’s substrate. Look for excessive mold growth, which can indicate too much moisture or insufficient ventilation. A foul odor could also signal that the substrate needs to be changed or that there is some form of bacterial growth. If the substrate is excessively dry, you may notice your tarantula struggling to molt. Also, look for the presence of unwanted pests or insects, which can be detrimental to your tarantula’s health. Addressing these problems promptly ensures that the enclosure remains a safe and healthy environment for your pet. Regularly inspecting the substrate will help catch any issues early on.
Conclusion
Creating your own tarantula substrate is a rewarding experience that allows you to customize your pet’s environment and save money. By understanding your tarantula’s specific needs, experimenting with different DIY recipes, and diligently maintaining the substrate, you can provide a comfortable, healthy, and enriching habitat. Whether you choose coconut fiber, potting soil, vermiculite and perlite, sphagnum moss, or sand and clay, the key is to research the requirements of your tarantula species and make adjustments as needed. Regular monitoring and cleaning will ensure your tarantula thrives in its custom-made home, leading to a happier, healthier pet and a fulfilling hobby. Remember to always prioritize the tarantula’s well-being and enjoy the process of creating a perfect home for your eight-legged friend.
